
Ever tried to match a colour in a PowerPoint presentation, hours later, you’re happy it’s exactly the same, only to print or present it and it looks completely different? Yesterday I showed you how to insert and manage shapes and photos in PowerPoint. Today we’ll match colours to build a beautiful presentation.
| Day: | 12 of 365, 353 left |
| Tools: | Microsoft Office; PowerPoint 2013 |
| Description: | How to use the Eyedropper in PowerPoint |
I’ve inserted one of my favourite photos into a PowerPoint presentation. (I took this photo at Vodaworld in Midrand, Gauteng SA and I’ve called it Mechanical Sunflowers.) I would like to build a presentation, using the same colours to style any shapes, pages and fonts I use. If you need to make the photo smaller or larger and you’re not sure how – read my post on aspect ratio.
Now I’ll insert a couple of shapes, on which I’ll add the font for my Index slide. Once you’ve inserted the shapes, select the shape (1), click on the “Format” Tab (2) > “Shape Fill (3) > “Eyedropper (4). Now you can click anywhere on the photo (5) and the shape will pick up the colour you have selected.

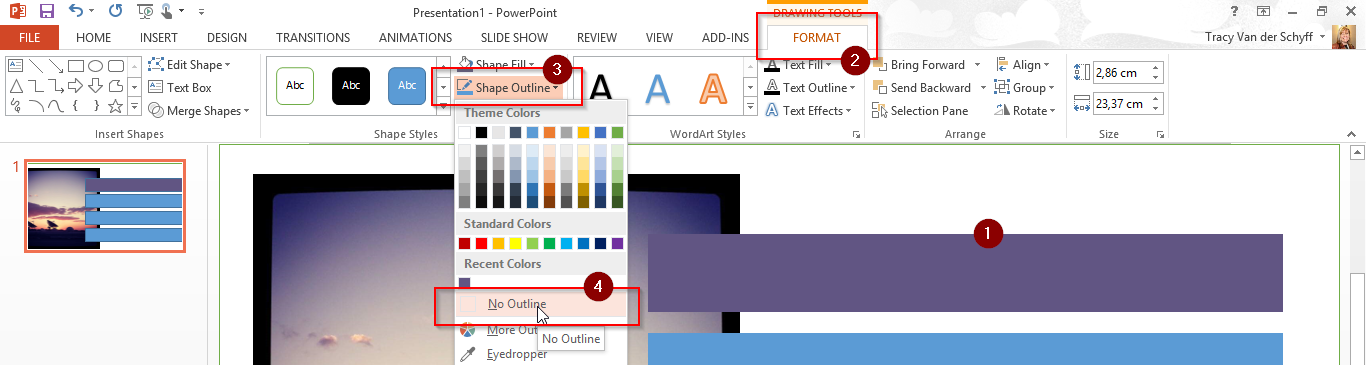
If necessary, remove the outlines to your shape (as their colour will be different). Select the shape (1), click on the “Format” Tab (2) > “Shape Outline (3) > “No Outline (4).
To save time, I’ve selected all the shapes and will apply the font styling at the same time:
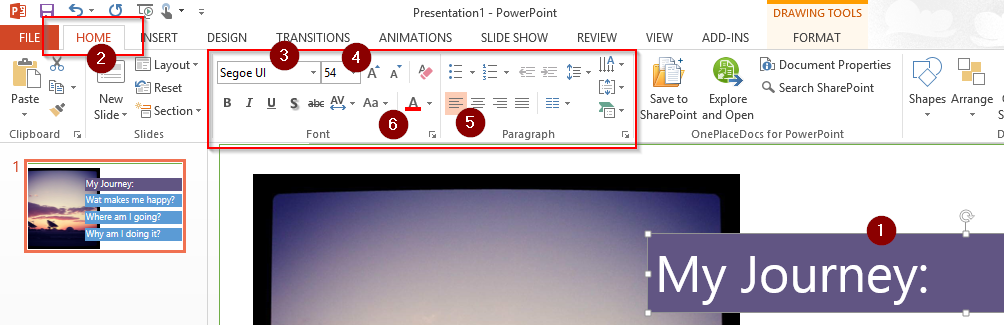
Keeping Shift or Ctrl in, select all the shapes (1), click on the “Home” Tab (2), then set the font type (3), size (4), alignment (5) and colour (6), keep in mind that you can use the eyedropper to select the font colour off the photo.
I’ve used the Eyedropper to select a different colour from my photo for each shape, the font colour as well as the background. Here is the end result:

Everyone has the ability to be creative, sometimes it just takes someone to show you how. Till tomorrow.
Overview of my challenge: As an absolute lover of all things Microsoft, I’ve decided to undertake the challenge, of writing a blog every single day, for the next 365 days. Crazy, I know. And I’ll try my best, but if I cannot find something good to say about Office 365 and the Tools it includes for 365 days, I’m changing my profession. So let’s write this epic tale of “Around the Office in 365 Days”. My ode to Microsoft Office 365.
Keep in mind that these tips and tricks do not just apply to Office 365 – but to the overall Microsoft Office Suite as well as where applicable, SharePoint.
2 Pingback