 #Office365Challenge I’ve been using PowerPoint for years, and pride myself on not “being too shabby” at it. However, I have never used sections in my presentations, so today we’ll take a look at that.
| Day: | 229 of 365, 136 left |
| Tools: | Office 365 / PowerPoint |
| Description: | Add Sections to PowerPoint Slides |
I am very fortunate to speak about my passion at various conferences, I am also very aware of how important the layout / content and general look and feel of your presentation is. No matter how good your content is – if the presentations sucks, so will you. Most of my students tell me they have zero creativity – until I give them a couple of tips – and then they shine. See – all we need is a bit of TLC.
Now as mentioned, today we’ll look at adding sections to your slides.
In Microsoft PowerPoint, you can use the new Sections feature to organize your slides, much like you would use folders to organize your files. You can use named sections to keep track of groups of slides. And, you can assign sections to colleagues to make ownership clear during collaboration. If you’re starting with a blank slate, sections can even be used to outline the topics in your presentation.
So sections helps you organize big presentations – and of course this will help you organize your thoughts as well.
To add sections, right click between the slides on the left and click on Add Section:

Once the section is inserted, you can right-click on the “Untitled Section” and name it:

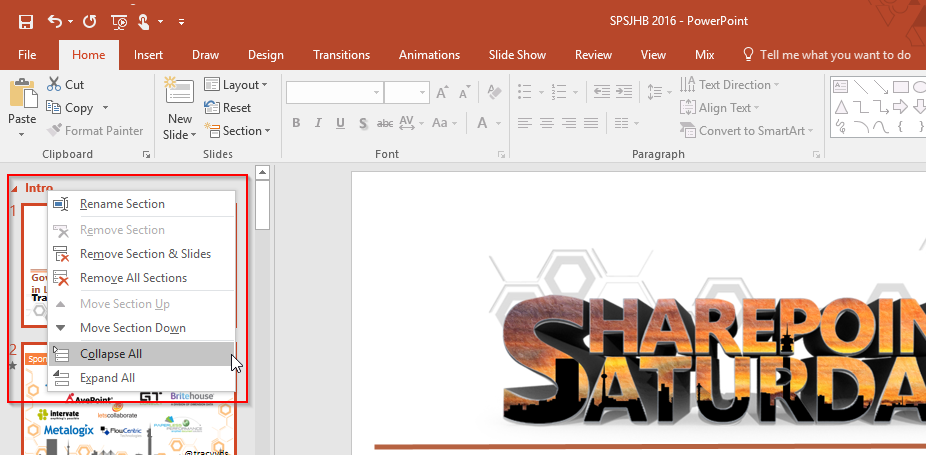
Now that you’ve added all your sections, you can right-click on one of the sections and Collapse All – to see a ‘summary’ of your slides:
This is how it will be presented:

Might not seem like much, but for this crazy ADHD person – that goes a long way!!
If you change the view to “Slide Sorter” – you’ll be presented with a “thumbnail view” of your sections and slides:


Of course now you can move sections, delete, rename etc.
Happy PowerPointing Cupcakes!
Overview of my challenge: As an absolute lover of all things Microsoft, I’ve decided to undertake the challenge, of writing a blog every single day, for the next 365 days. Crazy, I know. And I’ll try my best, but if I cannot find something good to say about Office 365 and the Tools it includes for 365 days, I’m changing my profession. So let’s write this epic tale of “Around the Office in 365 Days”. My ode to Microsoft Office 365.
Keep in mind that these tips and tricks do not only apply to Office 365 – but where applicable, to the overall Microsoft Office Suite and SharePoint.
Leave a Reply