
#Office365Challenge Second in my posts about SharePoint web parts. Today we’ll look at changing the appearance of web parts.
| Day: | 188 of 365, 177 left |
| Tools: | SharePoint |
| Description: | SharePoint Web Parts – Appearance |
Related posts:
Around the Office in 365 Days: Day 186 Web Part Pages in SharePoint
Around the Office in 365 Days: Day 187 SharePoint Web Parts – Views
I suspect these will be the last posts I write on editing web parts in this way. I’ve seen a glimpse of the amazing, crazy changes ahead in O365 over the next month and things will surely change. However many of us are not “first release tenants” and of course these posts can be applied to on-premises as well.
Lets proceed then shall we?
When your page is in edit mode, you can click on the drop down on the right of the web part and select Edit Web Part:

You’ll now see the Web Part Properties on the right. You might have to scroll right and up to the top of the page to see this:

Yesterday, we changed the view the web part was pointing to by clicking on the “Current view” drop down and changing this to another (more suited) view:

As mentioned yesterday, I always create views specific for web parts on pages. If you would like to limit the height of your web part – I would suggest changing your view to only show a certain amount of items at a time. I’d rather have a web part with “next 5 items” at the bottom, than one that scrolls.
In the Web Part Properties panel, expand Appearance. In this section you are able to change the Title of the Web Part (it does not affect the name of the App), you can set the width and the height of the Web Part and set the Chrome Size and Type:
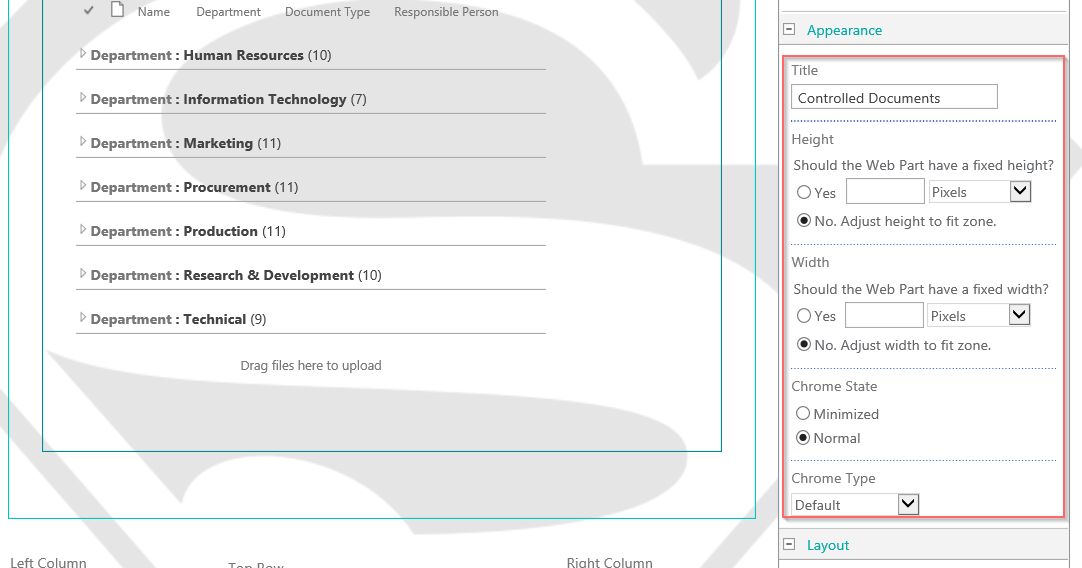
When setting the height and width of Web Parts, it’s very important to keep in mind the average screen resolution in your company. I set the height of web parts to align with web parts next to it, and to optimize the space on the page.
With Chrome Type you can make changes to the title and border of the web part.
Join me tomorrow when we’ll start looking at the other types of web parts.
Overview of my challenge: As an absolute lover of all things Microsoft, I’ve decided to undertake the challenge, of writing a blog every single day, for the next 365 days. Crazy, I know. And I’ll try my best, but if I cannot find something good to say about Office 365 and the Tools it includes for 365 days, I’m changing my profession. So let’s write this epic tale of “Around the Office in 365 Days”. My ode to Microsoft Office 365.
Keep in mind that these tips and tricks do not only apply to Office 365 – but where applicable, to the overall Microsoft Office Suite and SharePoint.

9 Pingback