
#Office365Challenge All about SharePoint web parts and today we’ll look at the Media & Content Category – Content Editors.
| Day: | 192 of 365, 173 left |
| Tools: | SharePoint |
| Description: | SharePoint Web Parts – Content Editors |
Related posts:
Around the Office in 365 Days: Day 186 Web Part Pages in SharePoint
Around the Office in 365 Days: Day 187 SharePoint Web Parts – Views
Around the Office in 365 Days: Day 188 SharePoint Web Parts – Appearance
Around the Office in 365 Days: Day 189 SharePoint Web Parts Available
Around the Office in 365 Days: Day 190 SharePoint Web Parts – Blog Category
Around the Office in 365 Days: Day 191 SharePoint Web Parts – Content Rollup
I’ve skipped Document Sets and Forms for now, and will get back to these as part of other blogs in the planning. A reminder again: There are a lot of changes ahead in O365 which include changes to the web parts as well. These current blogs might become outdated for the latest version of O365, but for anyone still on older versions it would be valid for some time to come. Enjoy it while you can – I am looking forward to the new updates, and will of course tell you about it asap.
The next category up for discussion is Media and Content, the name should already indicate what this could possibly include. = FUN!!!
Media and Content:
| Content Editor | Allows authors to enter rich text content. |
| Get started with your site | This web part displays a set of tiles with common SharePoint actions. |
| Image Viewer | Displays a specified image. |
| Media Web Part | Use to embed media clips (video and audio) in a web page. * |
| Page Viewer | Displays another Web page on this Web page. The other Web page is presented in an IFrame. |
| Picture Library Slideshow Web Part | Use to display a slideshow of images and photos from a picture library. |
| Script Editor | Allows authors to insert HTML snippets or scripts. |
| Silverlight Web Part | A web part to display a Silverlight application. |
Under Media & Content, the first web part I ever used was a Content Editor. On Web part pages you cannot just add content (text) anywhere as you can on Wiki Pages, so these web parts would be added to add ‘text boxes’ on a page. It allows for rich text editing so you can change font size, colours, add pictures and hyperlinks etc. Content Editors can also reference files – but we’ll get to that later.
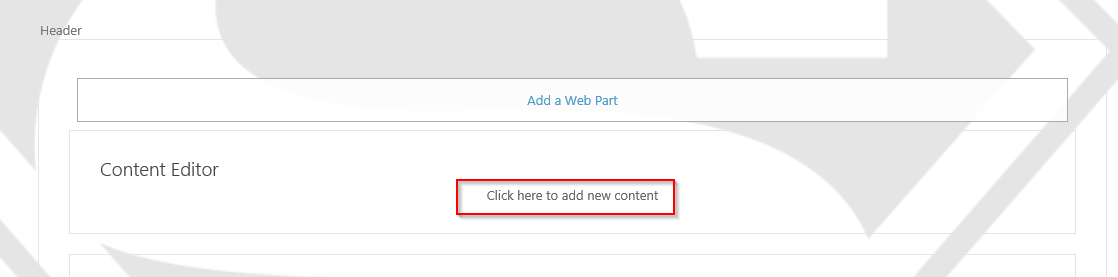
Add the Content Editor on your web part page, you’ll notice the “Click here to add new content” link. The cursor will now show and you can start typing. Change your formatting as you would in Word – using the ribbon:
Couldn’t resist…. was a lot easier than the first time I tried that! If you don’t want to display the title of the web part (only display the actual text), you will have to set the chrome type of the web part to None.

Edit the web part > expand Appearance > Chrome Type = None. Save changes to web part – then save changes to page. Sorted!

Final Product (drum roll):

Tomorrow we’ll talk about Image viewers.
Overview of my challenge: As an absolute lover of all things Microsoft, I’ve decided to undertake the challenge, of writing a blog every single day, for the next 365 days. Crazy, I know. And I’ll try my best, but if I cannot find something good to say about Office 365 and the Tools it includes for 365 days, I’m changing my profession. So let’s write this epic tale of “Around the Office in 365 Days”. My ode to Microsoft Office 365.
Keep in mind that these tips and tricks do not only apply to Office 365 – but where applicable, to the overall Microsoft Office Suite and SharePoint.

5 Pingback