
#Office365Challenge In my last two posts I discussed Target Audience on Web Parts as well as Lists and Library items. Today I’ll show you how to set Target Audience on Navigation links.
| Day: | 201 of 365, 164 left |
| Tools: | SharePoint |
| Description: | Target Audience on Navigation Links |
Target Audience allows you to set the visibility of links on your navigation links. Again be reminded that this does not apply permissions – it merely makes the link visible or not. SharePoint does apply security trimming on links as well based on permissions set – however – this does not always work based on how the link was added etc. For example, links on pages will not be security trimmed, a user will get a permissions denied error once they click on it.
How to set a Target Audience on your navigation links:
Site Settings > Navigation:

When adding a Heading or Link on both the Global and Current Navigation, you will have the option to set the Target Audience:
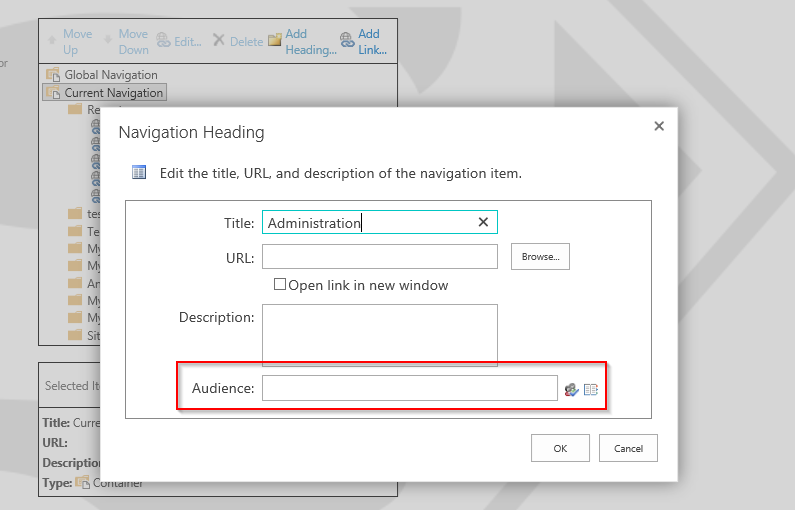
You will be able to select from Global Audiences, Distribution Groups, Security Groups and SharePoint Groups:

The Administration link will now only be visible to the Administrators Security Group I added in the Target Audience:

Overview of my challenge: As an absolute lover of all things Microsoft, I’ve decided to undertake the challenge, of writing a blog every single day, for the next 365 days. Crazy, I know. And I’ll try my best, but if I cannot find something good to say about Office 365 and the Tools it includes for 365 days, I’m changing my profession. So let’s write this epic tale of “Around the Office in 365 Days”. My ode to Microsoft Office 365.
Keep in mind that these tips and tricks do not only apply to Office 365 – but where applicable, to the overall Microsoft Office Suite and SharePoint.

Leave a Reply