
#Office365Challenge While we’re on the fun topic of OneNote, let’s take a look at the differences between the Online Notebook and the OneNote Desktop App.
| Day: | 177 of 365, 188 left |
| Tools: | SharePoint |
| Description: | Online Notebook vs OneNote |
Related Posts and other Resources:
Around the Office in 365 Days: Day 175 What is OneNote?
Around the Office in 365 Days: Day 176 Formatting and applying Tags in OneNote
Official OneNote Site
OneNote 2013 Quick Start Guide
eBook: OneNote 2016 Tips & Tricks
Differences between using a notebook in the browser and in OneNote
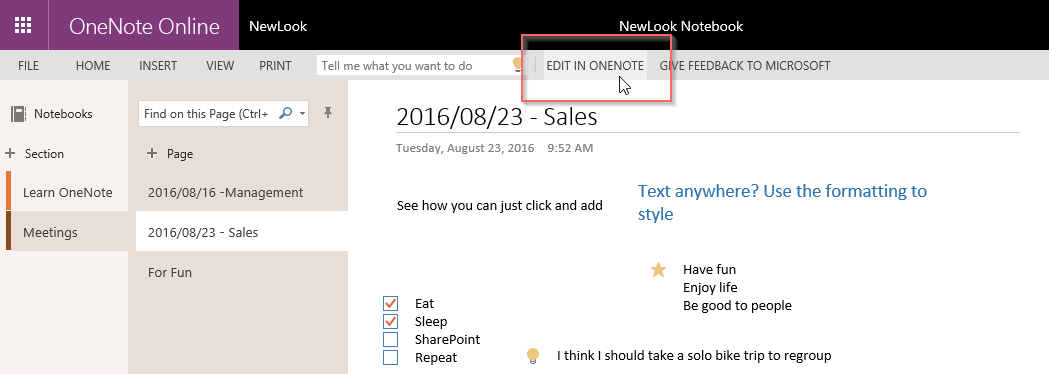
First step today is to open your Notebook Online (from your SharePoint Site in the browser) in your OneNote desktop app.
In the browser version you’ll see “Edit in OneNote”. It might ask your credentials to authenticate the first time. Click on this and allow the synchronization if asked.
The OneNote will look different to your Online version. All your Notebooks will be availabe here (1), Sections are at the top (2) and pages on the right (3):
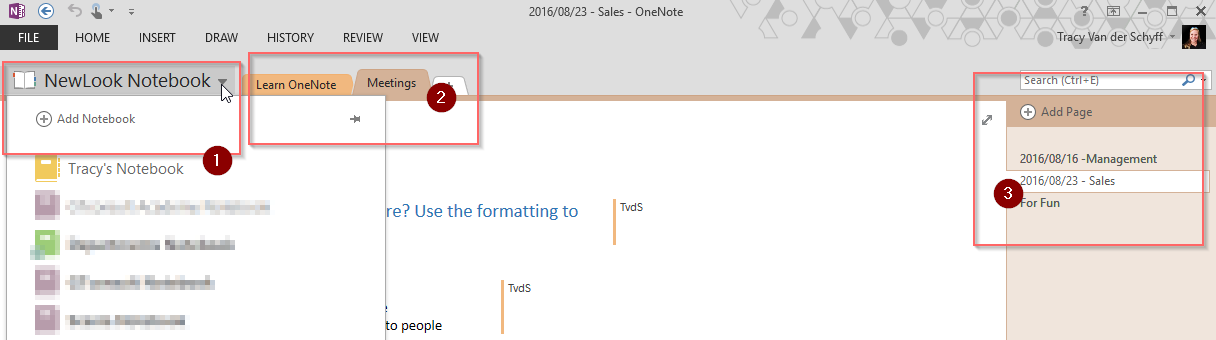
Any changes you make to the OneNote will be updated to the Notebook on SharePoint. There is definitely more functionality available when working in the Desktop app version (which is why I use it) vs the Online version.
Some of the functionality which are NOT available in the Online version:
- Printing
- Search for Tags
- Search outside current version
- Format Painter
- Outlook Integration
- Shapes, equations, and ink cannot be inserted or edited
- Cannot insert symbols
Here’s a great article to read more about the differences.
You will also notice that the Ribbon now has much more to offer:
Home Tab:

Insert Tab:

Draw Tab:

History Tab:

Review Tab:

View Tab:

Cannot wait for tomorrow when we’ll start playing around with all the cool stuff on the ribbons.
Overview of my challenge: As an absolute lover of all things Microsoft, I’ve decided to undertake the challenge, of writing a blog every single day, for the next 365 days. Crazy, I know. And I’ll try my best, but if I cannot find something good to say about Office 365 and the Tools it includes for 365 days, I’m changing my profession. So let’s write this epic tale of “Around the Office in 365 Days”. My ode to Microsoft Office 365.
Keep in mind that these tips and tricks do not only apply to Office 365 – but where applicable, to the overall Microsoft Office Suite and SharePoint.

2 Pingback