#Microsoft365 #Office365 #SharePoint – I’ve written a couple of blogs about the ‘new’ Hero web part. This is a recap of my new favourite blue-eyed boy, but I will also take a trip down memory lane and remind you of the awesome Promoted Links web part, which is still very relevant for your Classic SharePoint Team Sites.
For previous posts in my #Microsoft365Challenge go to the index page.
DISCLAIMER: I WRITE ARTICLES ABOUT OFFICE / MICROSOFT 365. CONTENT IS ACCURATE AT TIME OF PUBLICATION, HOWEVER UPDATES AND NEW ADDITIONS HAPPEN DAILY WHICH COULD CHANGE THE ACCURACY OR RELEVANCE. PLEASE KEEP THIS IN MIND WHEN USING MY BLOGS AS GUIDELINES.
Related posts:
- #Microsoft365 Day 87 – So what is SharePoint exactly?
- #Microsoft365 Day 88 – SharePoint Terminology Explained
- #Microsoft365 Day 89 – SharePoint Pages and Web Parts Introduction
- #Microsoft365 Day 91 – Page layouts in SharePoint Communication Sites
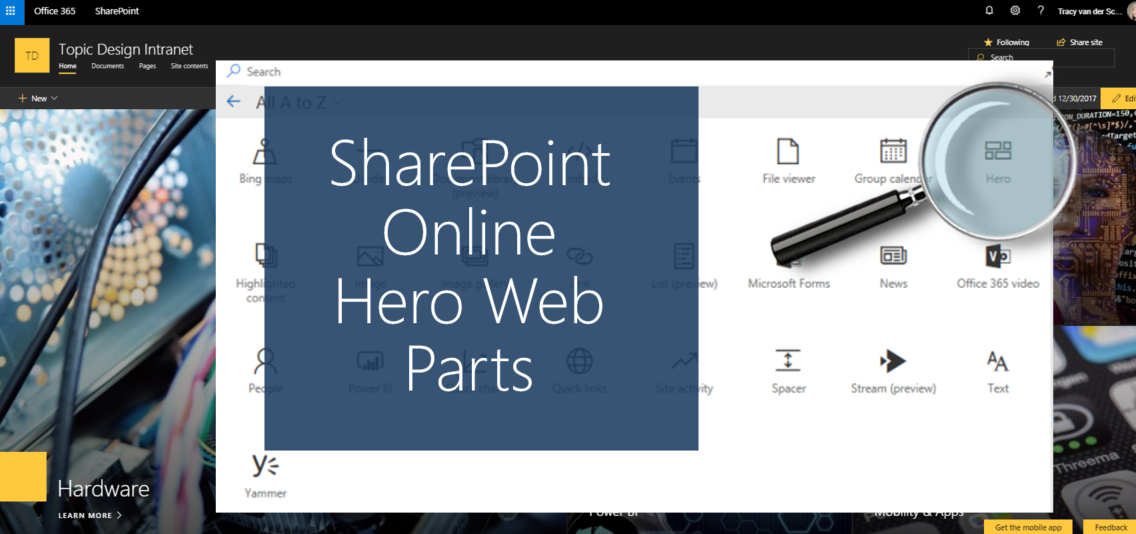
Hero Web Part
The Hero web part is a great way to bring focus and visual interest to your page. You can display up to five items in the Hero web part and use compelling images, text, and links to draw attention to each. The Hero web part is included by default on Communication sites, but you can also add the Hero web part to other pages. Use the Hero web part.
Take note that the Hero web parts are not available yet for use on classic pages. On how to create pages and add web parts, see SharePoint Pages and Web Parts Introduction.
I really like the Hero Web Part. Promoted links used to be my favourite and they are still very relevant for your Classic Team Sites. Here’s some great ideas on how to get creative for both the Hero Web Part and Promoted Links.
Note: Keep in mind that without some added code, promoted links are not responsive.
Using a GIF in your Hero Web Part
A closer look at the ‘super’ hero web part in Communication Sites
The lighter side of Microsoft #15: Wrapping Promoted Links in SharePoint
The lighter side of Microsoft #16: Resizing Promoted Links in SharePoint
Promoted Links in SharePoint
Promoted Links Images for SharePoint Idea 1
Promoted Links Images for SharePoint Idea 2
15 Crazy GREAT ideas with Promoted Links in SharePoint
Hero Web Part
The Hero Web Part can be displayed in two ways:
- Tiles
- Layers
You can change the web part between the two displays. Images can be used, colour only which picks up from the theme, upload your own colour (image) or even use GIF’s. For “How To’s” take a look at the resources listed above.
Tiles shows the web part in 5 blocks – you can decide how many blocks you would like to display:

Layers will show the image, title and allow you to add an extra description. The blocks will be ‘staggered’ below each other:

Here’s a short clip to show using a GIF in one of the blocks:
Promoted Links
Promoted links consist of a list which points at an image, title an URL to use for a ‘clickable button’. I’ve done some really cool stuff with Promoted Links over the years. This includes creating my own images, cutting images out of solid images, wrapping and resizing them. These are still great to use on your classic team site landing pages:
Creating my own images:

Using different images with same colour or theme:

Cutting images out of one solid image:
Wrapping the tiles with a solid images (photo):
Wrapping and resizing the tiles:
The important thing here is to have fun. If your sites are boring, your users are gonna be bored. It’s not rocket science. We spend most of our lives at work, let’s make the most of it 🙂
Purpose of this blog challenge: I will write 365 blogs in 365 days around Microsoft 365. I did a similar challenge with Office 365, blogs can be found here. I won’t just be talking about the new Microsoft 365 subscription model. I will be sharing any news, tips and tricks around Office / Office 365 / Windows / Mobility and Security. And let’s not forget all the great new Apps & services available. A lot of what I’ll share on Office and SharePoint will also be applicable to none “Office 365” versions.
March 20, 2018 at 11:56 pm
Tracy – question that I’ve been unable to find a good answer to. Is the Promoted Links web part still available, and if so, how might I access it? Thanks!
March 21, 2018 at 3:17 am
Hi Dan, web part is not available in new modern site pages. On any of the classic SharePoint sites (older versions) you should be able to still add the web part.
March 21, 2018 at 1:47 pm
Aaah – disappointing, but thank you very much for confirming what I suspected!
March 22, 2018 at 6:50 am
I absolutely loved Promoted Links, but they’re not responsive and don’t play so well on the mobile app. Take a look at the Hero Web Part which rocks!! I’ve written a couple of posts on that as well.
March 22, 2018 at 1:30 pm
Appreciating your responsiveness, Tracy – thanks! So for lack of Promoted Links, how do you present a collection of link “tiles” in a more consolidated manner than the out-of-the-box Hero web part offers? I’ve been unable to find a way to resize the height of that element. Alternately, it seems the closest thing might be the Highlighted Content web part, but even that is a bit verbose.
March 31, 2018 at 7:06 am
Hi Dan, the Quick links web part works great and you can set it to show icons or tiles. I’ll write a new post about this.
March 31, 2018 at 8:04 am
Hi Dan, I wrote that Blog for you. 😬